
How To Demo a Bathroom Tile Floor 2023: An Expert Guide
So, you’re wondering how to demo a bathroom tile floor in 2023? Look no further! Here’s a concise guide: carefully assess the area, gather the right tools, and follow strategic steps to ensure a smooth demolition process.
Preliminary Steps: Prepare for the Task Ahead
Before you dive into the demolition, it’s imperative to prepare for the task. Always prioritize safety first.
➣ Safety Gear
Ensure you have safety glasses, gloves, knee pads, and dust masks. Dust and debris will be flying, so protect yourself.
➣ Clear the Bathroom
Remove any movable items from your bathroom. This includes rugs, shower curtains, and toiletries. By doing so, you ensure a safer working environment.
Remember, preparation is half the battle won. And at Shriki Construction, we always emphasize the importance of a well-prepared workspace. For more comprehensive tutorials and insights on bathroom renovations, Bob Vila is a reputable resource outside of our platform, known for its home improvement expertise.
Inspect the Tile and Underlayment
Not all tiles are created equal. Some are glued directly to the floor, while others might be atop an underlayment.
◈ Examine the Tile: Start by removing one tile to understand how they’ve been installed. This will guide your demolition strategy.
Start the Demolition Process
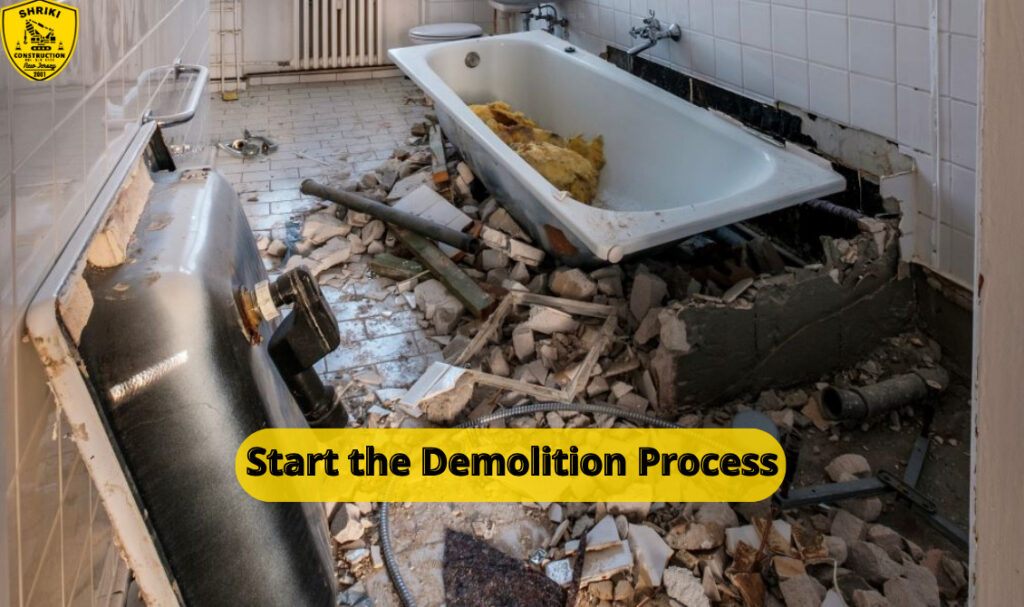
With safety gear in place and your tools at the ready, it’s time to dive into the actual demolition.
◑ Begin at the Edge: Always start at an edge or a corner. Using a chisel and hammer, gently tap to lift the tiles. Once you gain momentum, the process becomes faster.
◑ Stay Cautious of the Underlayment: If there’s an underlayment, it might come up with the tiles. Be mindful not to damage the floor beneath, especially if you’re not planning on replacing the underlayment.
For more on demolition best practices, dive into our comprehensive guide: Demolition 101 by Shriki Construction.
Clear Debris and Clean the Floor
Once the tiles are removed, you’re left with a mess that needs clearing.
☞ Collect the Debris: Using a shovel, gather all the broken tiles and place them in a sturdy garbage bag.
☞ Smooth the Surface: There might be leftover adhesive or thin-set on the floor. Use a floor scraper to ensure the surface is smooth and ready for the next steps.
Evaluate and Plan Ahead
With the tiles gone, take a moment to assess the area.
✲ Examine the Floor
Look for any damage or areas that need repair. Addressing them now will ensure a smoother installation of new tiles later.
✲ Consider Professional Help
If the task seems too daunting or if there’s significant damage, it might be wise to seek professional help. Companies like Shriki Construction can assist in ensuring your bathroom is in top shape.
For insights into what comes after demolition, this post can be of great assistance.
A Final Dip
Demolishing a bathroom tile floor is straightforward with the right approach and tools. While DIY can be fulfilling, don’t hesitate to seek expert guidance when needed. At Shriki Construction, we’re here to assist, ensuring your renovations are seamless and precise. Dive into your next project with confidence!

Ready for the Next Step?
Transform your bathroom with expert hands! If DIY isn’t your style or you need guidance, Today, Call Shriki Construction.
Leave a Comment