How To Start First Row of Vinyl Plank Flooring: Quick Insights
Embarking on a DIY flooring project? Starting correctly is key. Here’s a quick answer to your question, “How To Start First Row of Vinyl Plank Flooring ”:
Begin by choosing the longest, straightest wall and laying down the first row with the tongue facing the wall. This essential step ensures a smooth, professional finish.
With years of expertise at Shriki Construction, I’ll guide you through this process, ensuring your project starts off on the right foot.
Step 1: Preparation is Key
Before you lay the first plank, ensure your subfloor is clean, level, and dry. Any debris or moisture can cause problems later on. Visit our blog on preparing your floor for installation for more detailed guidance.
Step 2: Measure and Plan
Measure your room’s width to determine how many planks you’ll need. It’s crucial to avoid having a very narrow plank at the finish line. If necessary, trim the first row’s width to ensure a balanced layout. Our detailed guide on planning your layout can be a helpful resource.
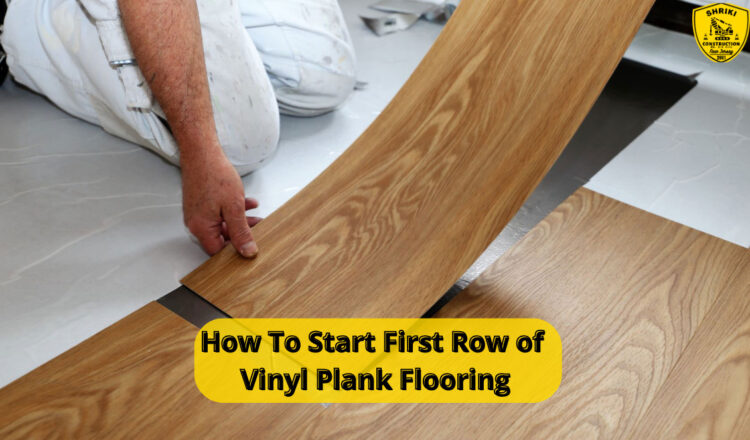
Step 3: Lay the First Plank
Start at the corner of your chosen wall, placing the first plank with the tongue side towards the wall. This orientation is vital for a seamless installation. For more insights, explore our article on choosing the right orientation for your flooring.
Step 4: Maintain the Expansion Gap
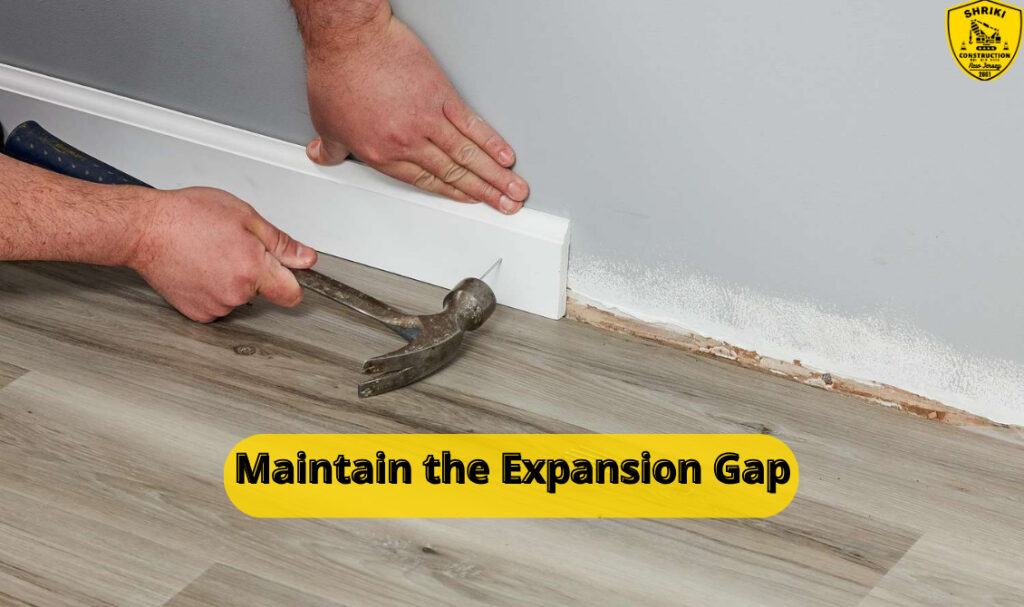
Always maintain an expansion gap between the wall and the first plank. This space allows the flooring to expand and contract without warping. For more information on expansion gaps, check out Luxury Vinyl Flooring Expansion Gaps.
Step 5: Secure the First Row
Continue laying planks along the wall, ensuring they are tightly jointed. Use spacers to maintain the expansion gap uniformly. Read our blog on achieving perfect plank alignment for expert tips.
Step 6: Stagger the Joints
When starting the second row, make sure the joints are staggered compared to the first row. This staggering adds strength and visual appeal to your floor. Learn more about staggering techniques in our advanced flooring tips.
Step 7: Check Regularly for Alignment
As you progress, regularly check for alignment and adjust as necessary. A misaligned row can throw off the entire project.
End Game
Starting your vinyl plank flooring installation correctly sets the stage for a successful project. Remember, patience and precision are your best tools. If you encounter challenges or prefer professional assistance, Shriki Construction is always here to help. Explore our flooring services for more information.

Transform Your Space with Shriki Construction!
Elevate your home with Shriki Construction’s expert services in New York City and North New Jersey. From dream renovations to efficient builds, we make it happen. Call us now and let’s craft your ideal space together!
Leave a Comment